I have been admiring Temari from afar for ages but it's only recently I have found out how they are made and realised I could make them with things I had around the house.
Temari are Japanese thread wrapped embroidered balls. Some people use styrofoam balls as a base but the traditional way is rice husks or fabric scraps. Now Fabric scraps I have lots of. You then cover that with some batting (I didn't for my first ones but when I find my bits of batting I will try this as well). Then some yarn and finally a layer of thread. The yarn and thread are wrapped as randomly as possible and in fact doing it this way can result in a surprisingly round ball. I did fairly thick layers of both to give me plenty to stitch through.
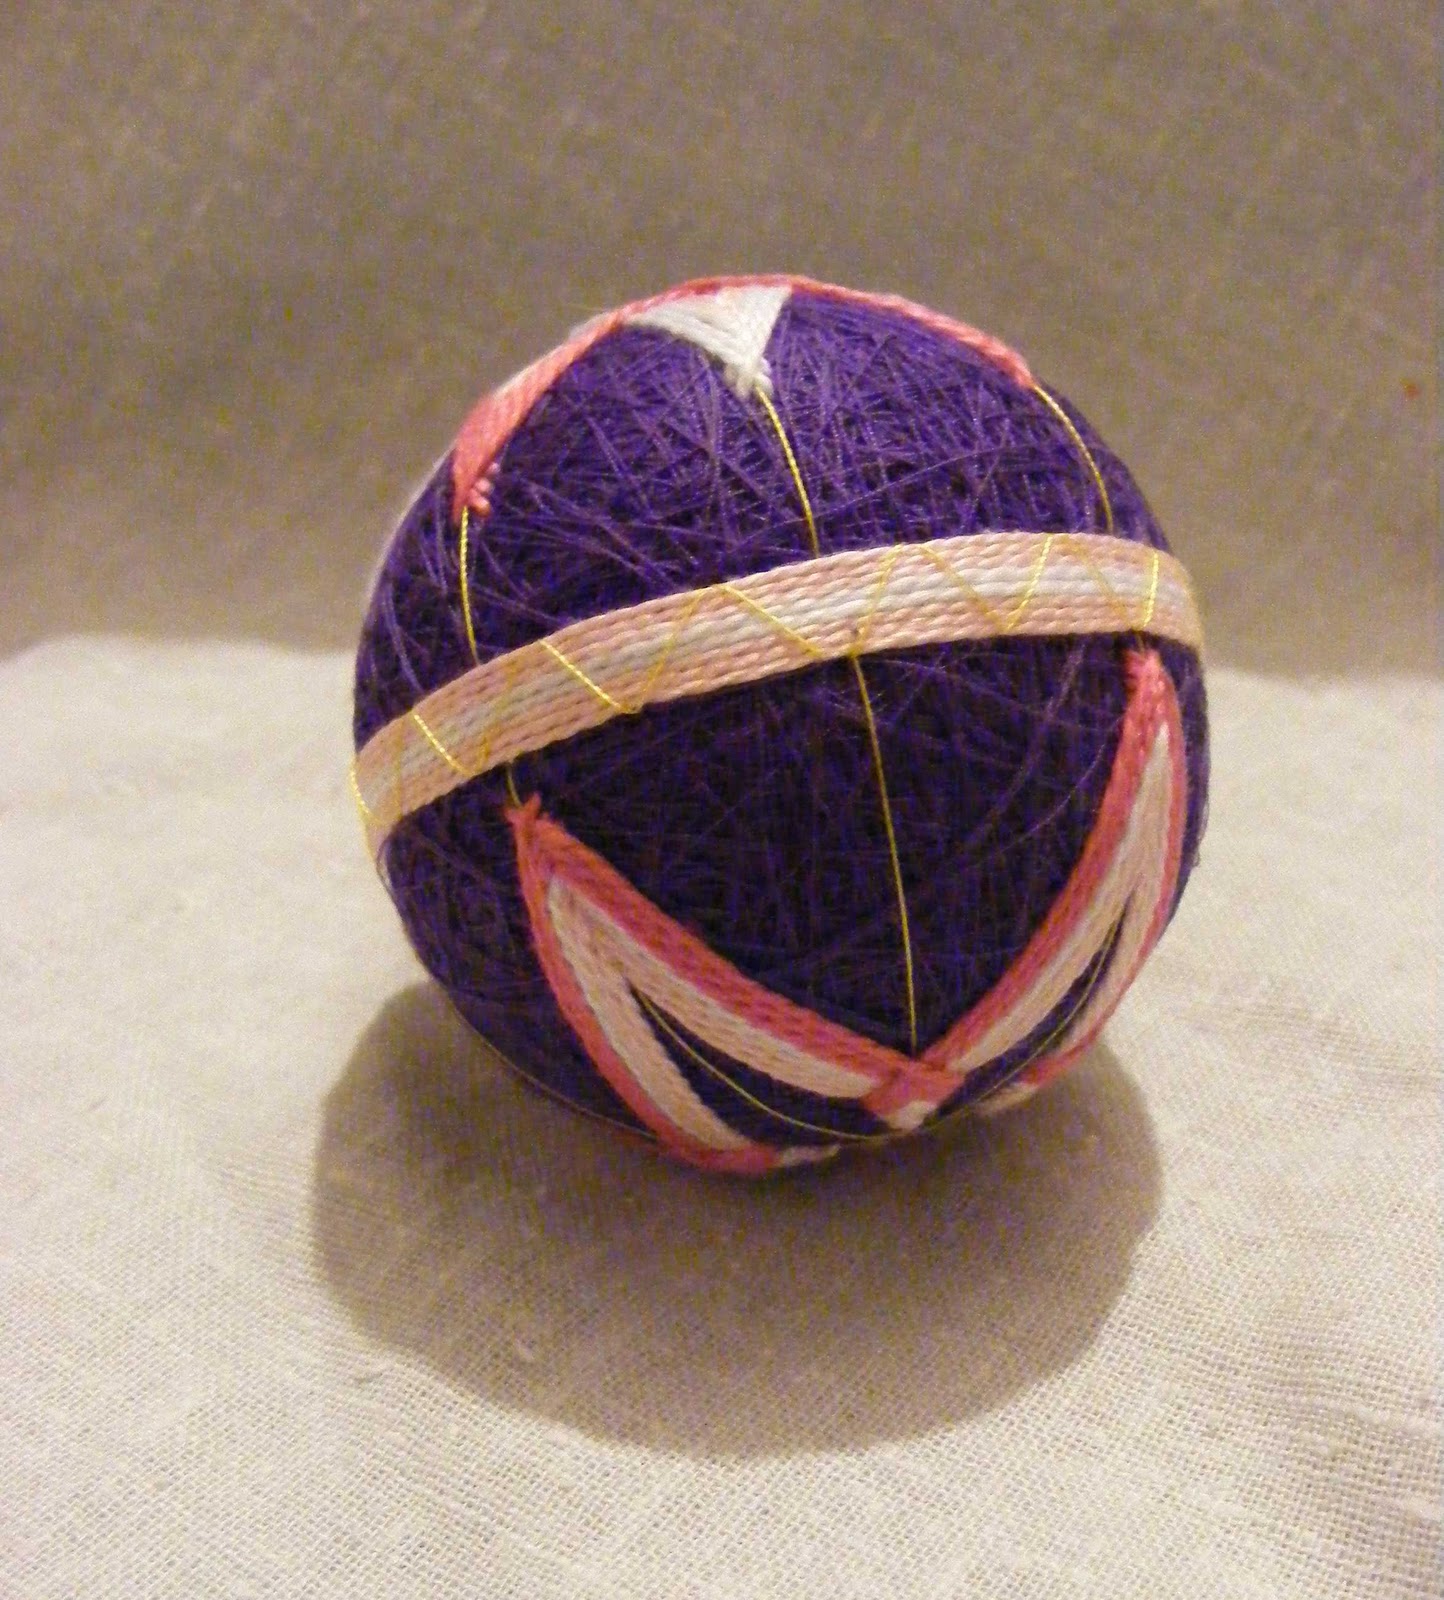
Here are my first two mari (the thread wrapped balls) The purple one is about 2.5" wide the grey one a little smaller. Temari can range in size quite a lot.
I also found a fabulous website which has lots of tutorials and help called
Temarikai.com and they have an associated Yahoo group which seems very friendly and useful.
The purple ball has some gold threads on it these are the divisions, in this case it is divided into 8 even vertical sections and the pattern will be based around those threads. There is one around the middle of the ball as well. Getting these correct is important as if they are wrong everything else goes wrong.
One of the things the website says is learn the techniques rather than focusing on patterns and I always find that a very valuable thing to remember for most new crafts. For my first ball I did two versions of the same stitch. This is called Uwagake Chidori Stitch (translates as Zig-zag over stitch).
The first side I worked
a simple version of the stitch making a four pointed star the bottom points of which nearly reach the middle of the ball
.
The second side is doing the same thing but twice
so they interlock with each other
.
Finally I added an obi which is just several rows of thread laid round the middle of the ball with a simple zigzag of the gold thread over it.
I am really please with it. The ball has a lovely feel in the hand, a nice weight and very tactile. The boys love them too! Treestump has told me they are for throwing and Dominic after finding out they were originally made as play things rather than decorations wants me to make some to be played with so I might look at which designs would work well for that. I think it would need something that covers a good amount of the thread base so the threads can't pull easily and also a design that has fairly short runs of thread as the longer the run the easier it is to snag.